Thursday 4 April 2013

Scene 1, Scene 2 and Scene 3

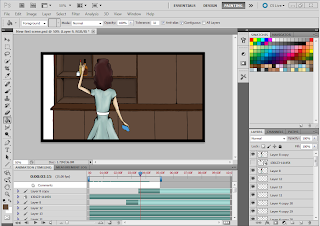
I have completed scene 1, background, animating, and after effects: 


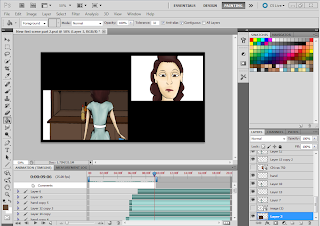
For Scene 2 its is mostly about effects, I have almost completed this scene, I still have the wedding picture to create though and also a few more effects:


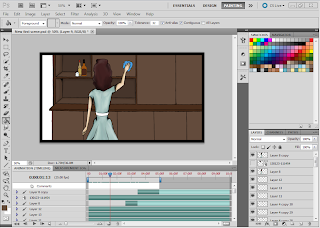
Scene 3 is almost complete I have just a little bit of the effects to finish off:


Update- Title screen

I decided the way that I work through this film would be to concentrate on one scene, create the background, characters, animate, then add effects etc in after effects then edit into premiere pro and then start on the next scene just so im doing something different every day or so.
This is what I have done so far:

Title screen:

I have created the background, animated, added effects to this scene and put into premiere Pro.

The Background started off like this:


And I then played around with colours, lighting and shading and added more detail: (Have to go back and include a table in the design)

I then animated the female character in photoshop: 


I then added effects:

Saturday 30 March 2013

Easter update

After finally finishing my dissertation and handing it in it is now the Easter break! I have been working on a few scenes, creating backgrounds, animating, adding effects etc
I will update with these over the next few days!

Friday 22 February 2013

After Effects on Background

In our Friday lessons with Stan I figured out how to create light rays coming into my first scene and also as she is dusting, having dust particles floating in the air in the light rays:


I have finished animating the first part of this Scene and I am now working on the second part.

Update on Background

I wasnt quite happy with the style of the background I started with so I played around in photoshop with different colours and effects etc roughly:


I didnt know whether to have the whole cabinet made out of wood or parts with glass and also whether to have borders on the doors so I tried them all out to see what seemed best and I preferred the look of all wood instead of the glass and also the border/frames on the doors I really liked so I chose to add them: 


I tried out a few colours for the walls and I think I will be going with this last, cream coloured one because the blue will clash with the female characters clothes and the kitchen is yellow and I dont want the living room and kitchen to look the same:


Sunday 3 February 2013

Updates2

At the moment im focusing on my dissertation for this week so I wont be working much on my film but here are a few things I have been working on for the past few days and will continue to work on:

I have started on a background, this background will be in a few scenes throughout the film, its still not finished quite yet. This is the cabinet where the female character Maggie will discover the photo frame among some bottles of alcohol.

I have also began animating a few little scenes roughly:


We are now having refresher classes with Stan which started on friday, and in this class I was able to go through a few things to do with my film such as the split screens and how they are going to appear in a shot and Stan has given me different ideas on how I can do this and shown me better and easier ways of achieving this compared to how I have been doing it. I have been trying to animate the split screens in Photoshop but Stan has shown me a much better and easier way to do this in After Effects so I need to go back and start doing the split screens for these scenes in After Effects.

Sunday 13 January 2013

Updates


I have now started back at Uni after the Christmas holiday. I planned to, over the holidays, create some feasibility tests, update my storyboard with the scenes I need to add in, do a final animatic and create a website.

These are the feasibility tests I have done:

Whilst doing my work I thought it would be best to create a rough layout of the kitchen:


These are my updated Storyboards:


This is my final animatic:


I have also created a website: avster.wix.com/nina-art